Configure Plugin
How to add Gratify Pay BNPL as a payment module in Zen Cart
Overview
In this section, we'll walk through the steps required to configure Gratify BNPL on your Zen Cart store. You'll learn how to:
- Access GratifyPay Settings;
- Configure your Merchant Keys;
- Configure Gratify BNPL Placement / Messaging; and,
Estimated time: 5-10 minutes
Configuration
Settings
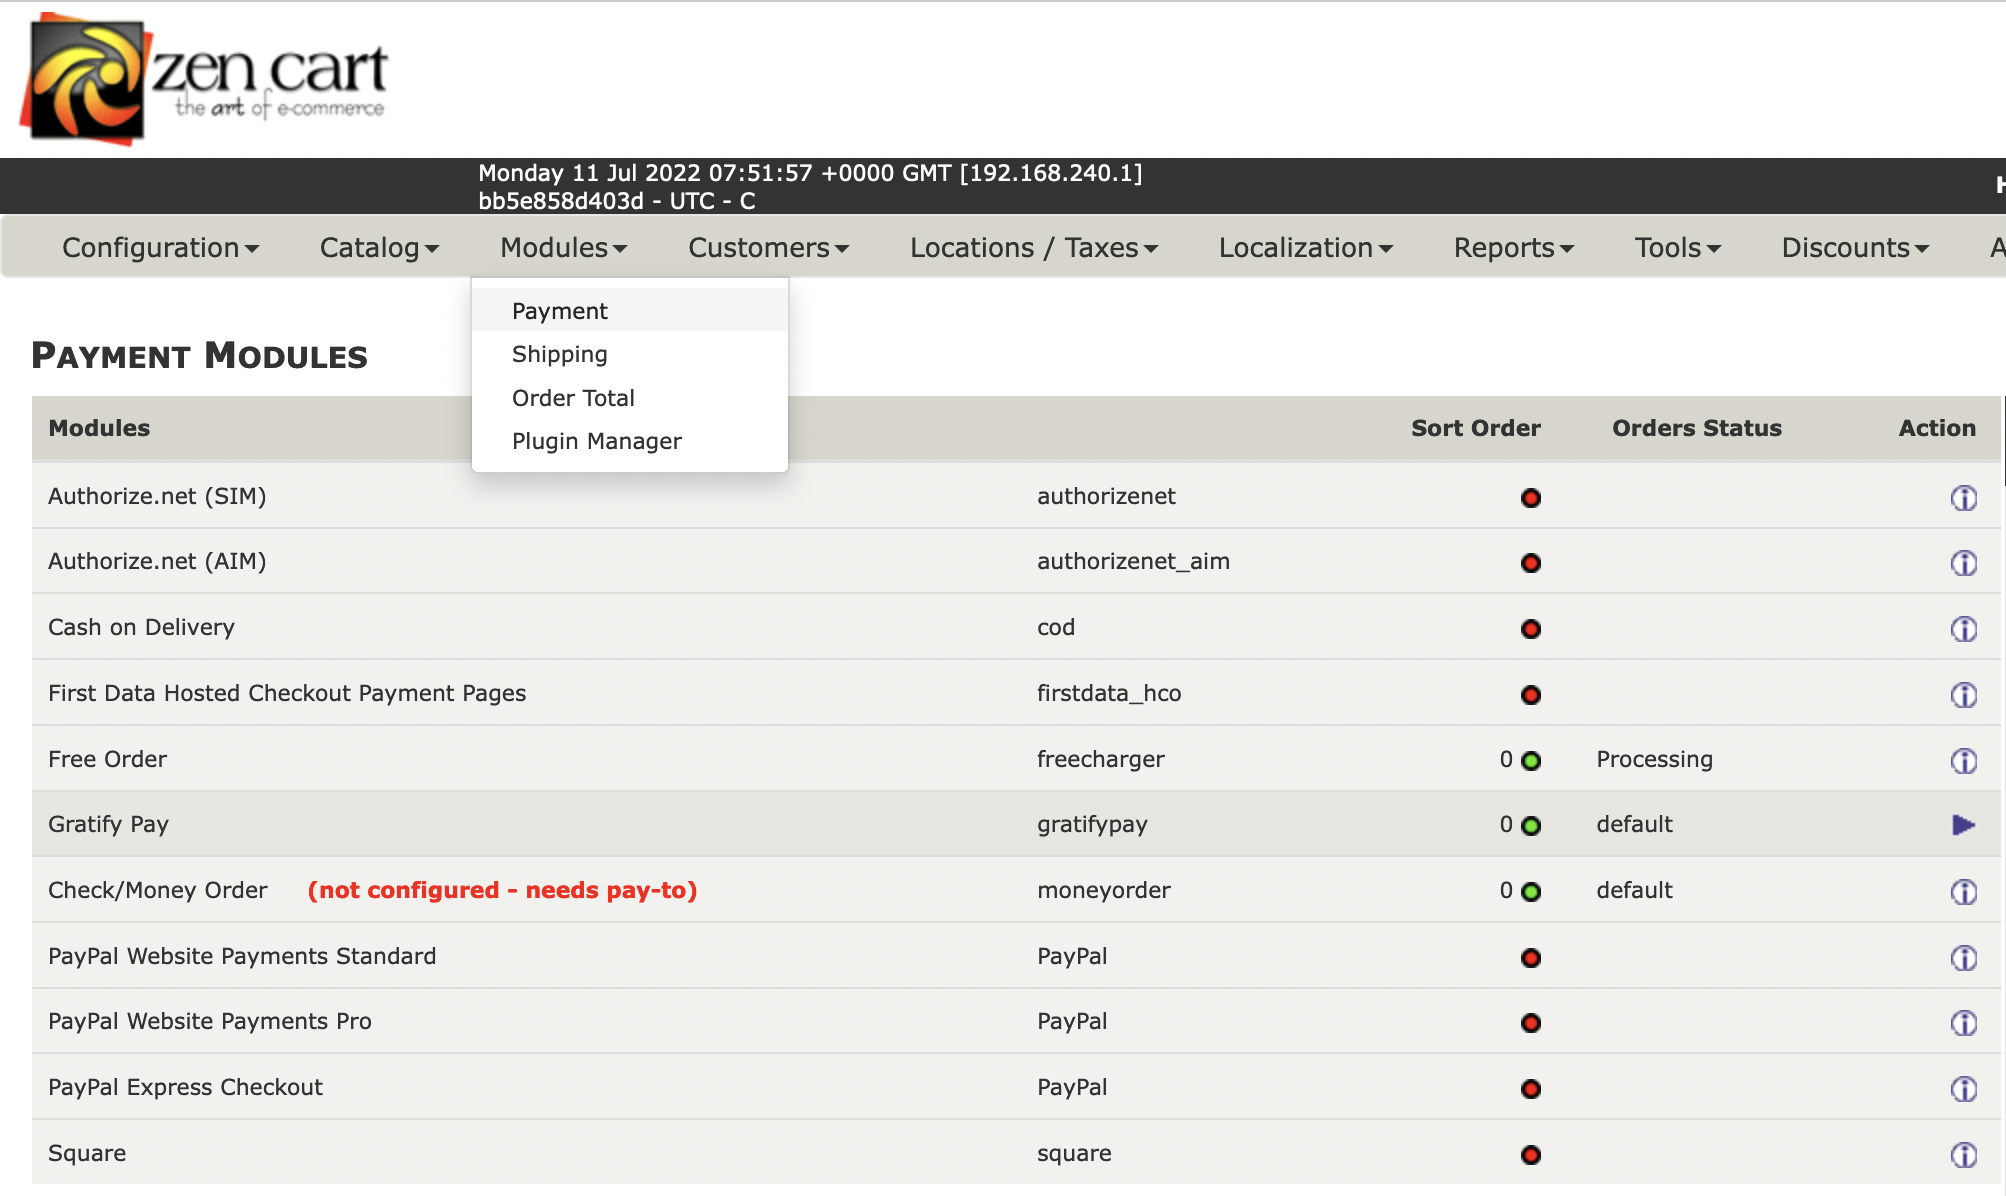
While logged into the admin section, click on Modules → Payment, then select the Gratify Pay module.
Keys
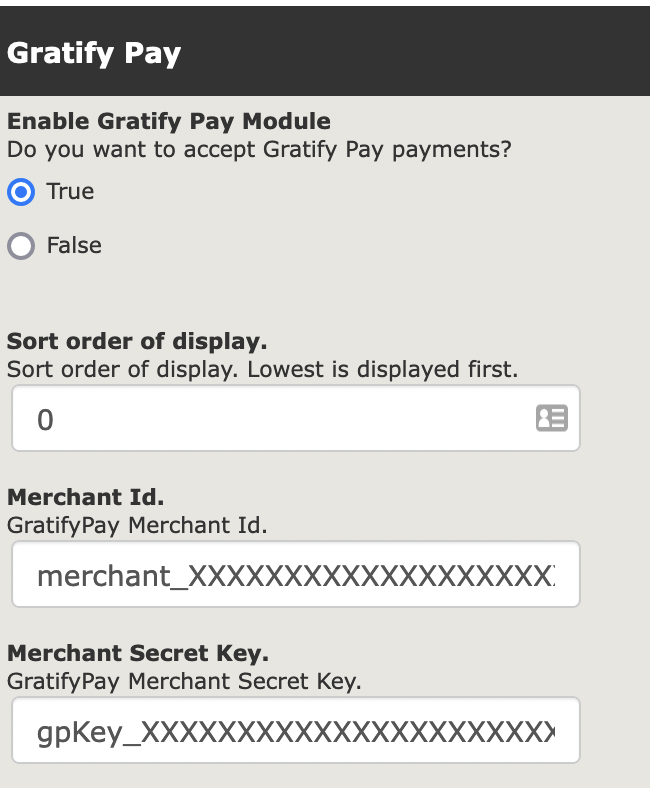
Input your Merchant ID and Secret Key.
Configure
Configure the Gratify BNPL Placements and Messages
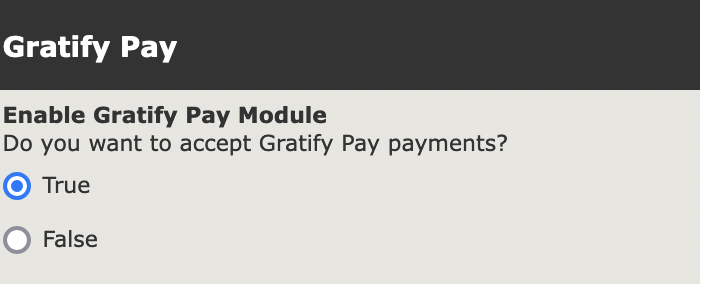
- Enable the GrafityPay Plugin
- Choose whether to enable the Gratify Pay payment information on Category Pages
- Choose whether to enable the Gratify Pay payment information on Individual Product Pages.
- Payment information is not optional on the Cart Page.
NoteThe look and feel of each payment placement / information option can be customized by editing the text to display

In this section, we saw the steps required to configure Gratify BNPL on your Zen Cart store. You should now have:
- Configured your Merchant Keys;
- Configured Gratify BNPL Placements;
Updated 10 months ago
Did this page help you?